

api.unkey.com, so it works from any host or language.
You need a root key with the permissions listed on this page. Create one in the dashboard under Settings > Root Keys, and pass it as
Authorization: Bearer <root key>. See Permission reference for every permission.api.*.create_key and api.*.verify_key. Pick your language with the switcher. Only the steps that call the API change.
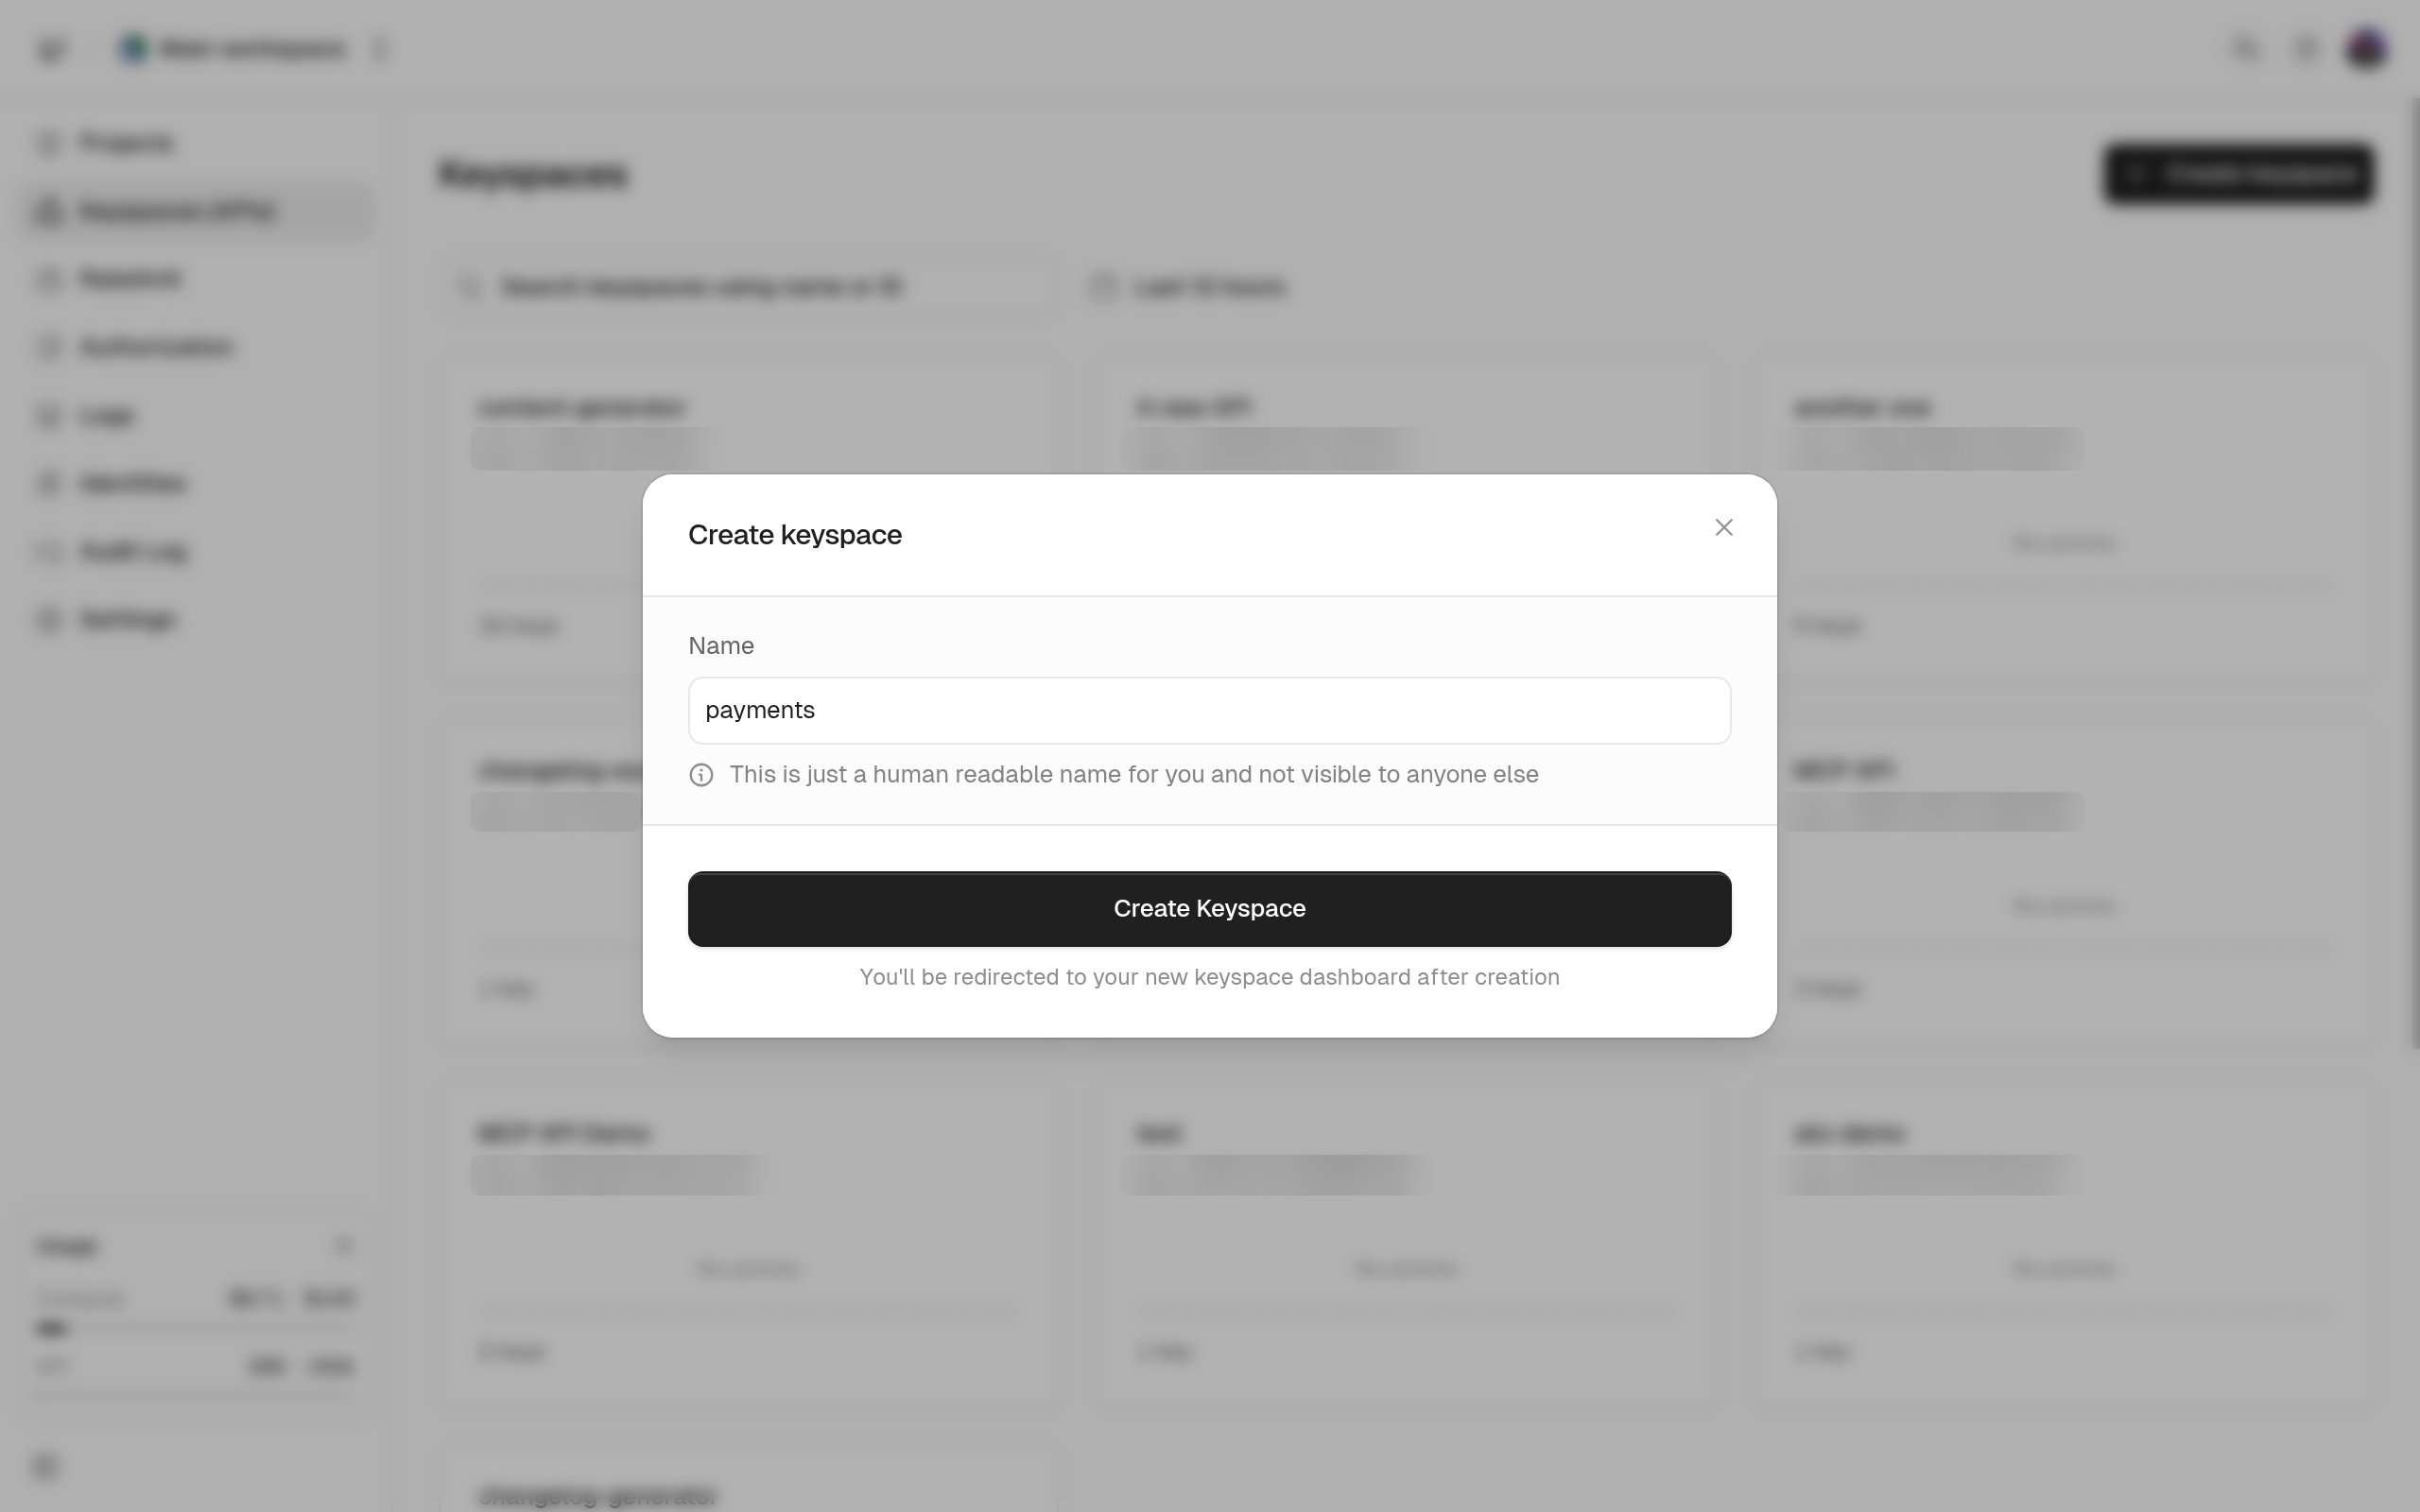
Create a key
Call This is the only time you see the key. Copy
keys.createKey with the API ID. The name is only for you. Your users never see it.data.key now and give it to your user.How you read the verification response
Verification returns HTTP 200 even when the key is rejected.data.valid tells you whether the key passed. When it didn’t, data.code says why.
credits, ratelimits, meta, and identity. Verifying keys lists every field and every code value.
Next steps
Creating keys
Prefixes, expiry, credits, rate limits, permissions, and metadata on one key.
Verifying keys
The order of checks, the
code enum, and caching behavior.Credits and refill
Sell a fixed number of requests and refill them on a schedule.
Keyspaces, keys, identities, and root keys
How the objects you just used fit together.